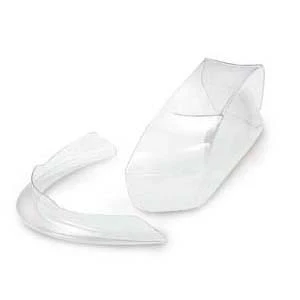
Bell SE07 3MM DSAF Shield
HomeStore

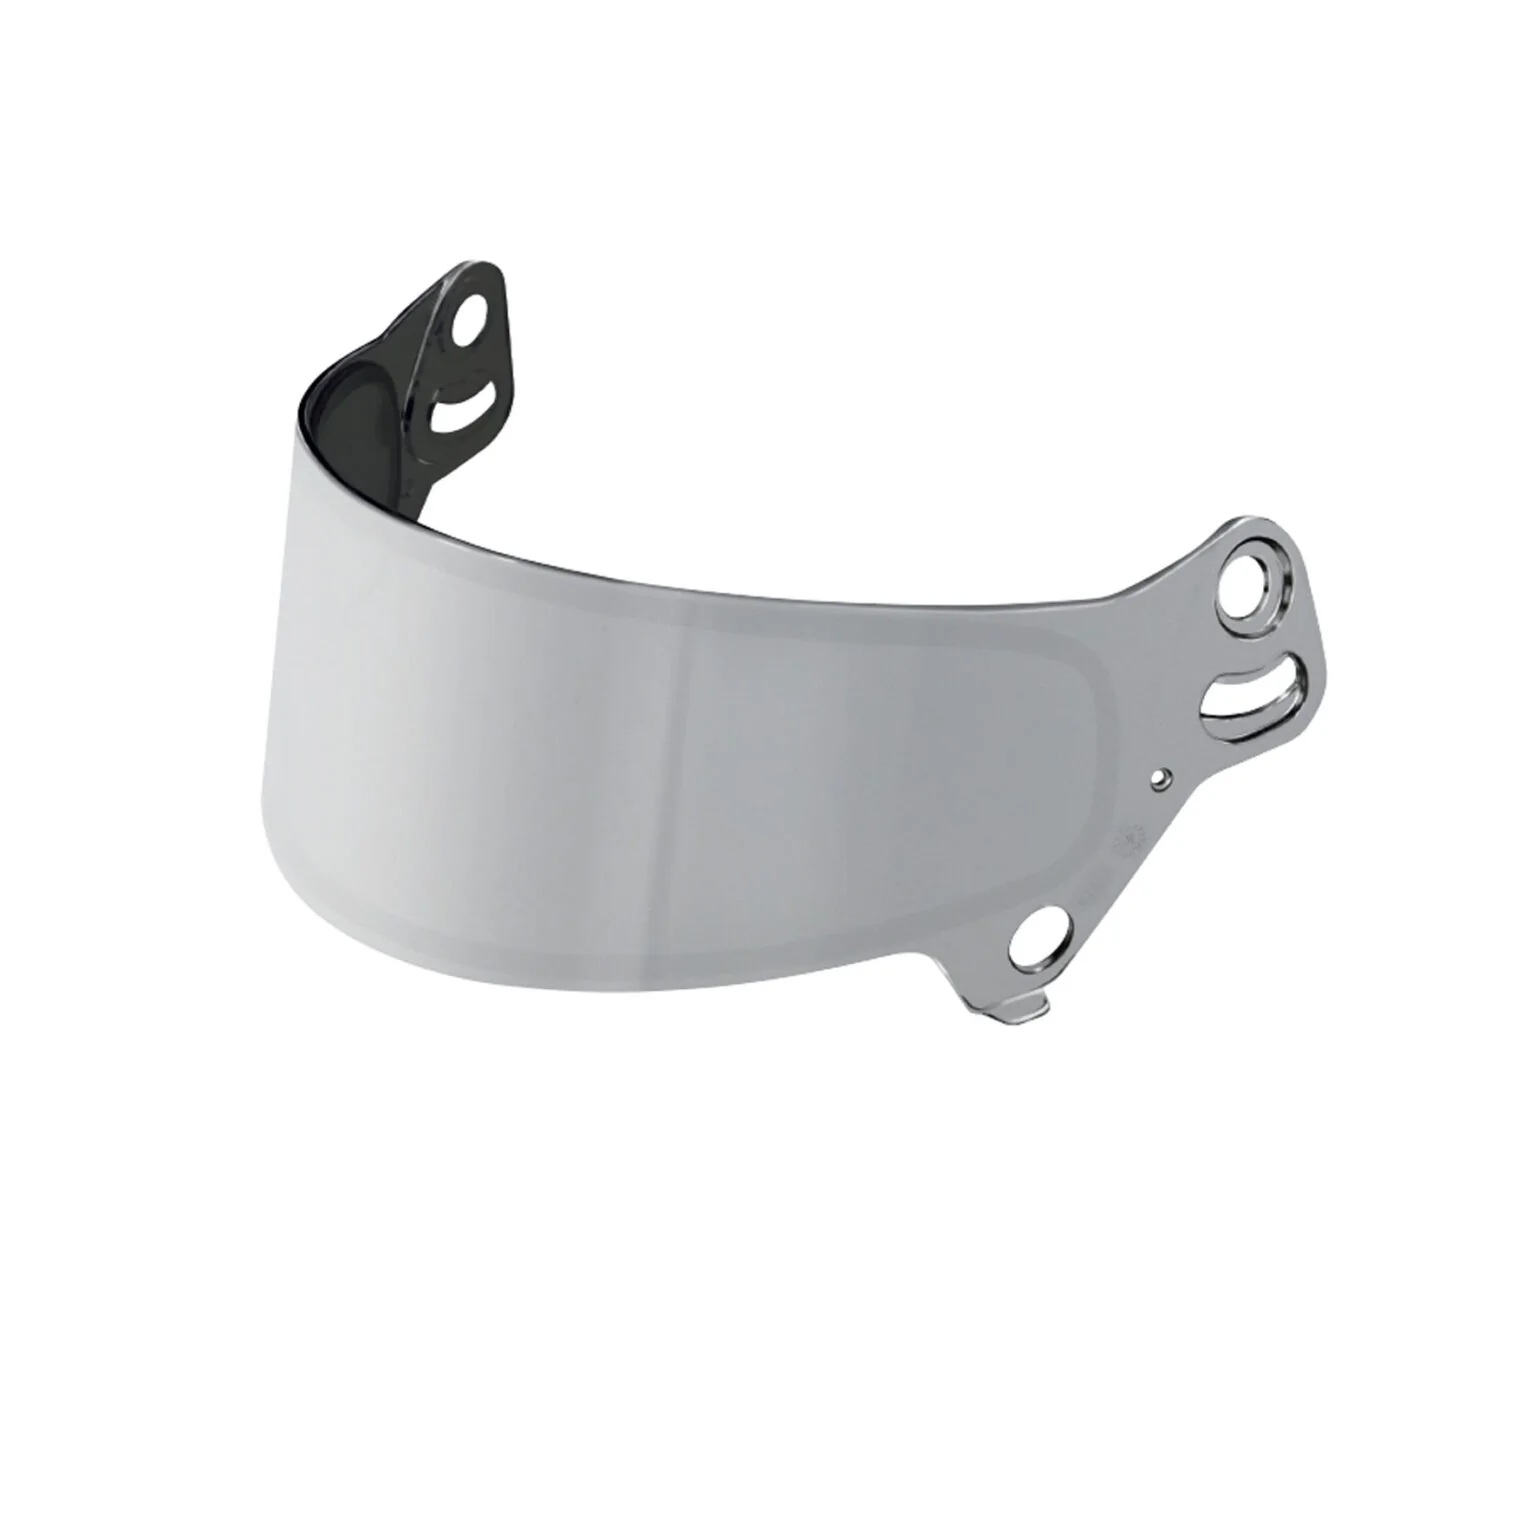
Bell SE07 3MM DSAF Shield

Bell SE07 3MM DSAF Shield

Select Color
From $26.99

Original: $89.96

-70%
Bell SE07 3MM DSAF Shield

$89.96

$26.99

The Story

Compatible
Helmets

  • HP7-EVO-III
  • RS7-CARBON
  • RS7-K
  • RS7-K-CARBON
  • RS7-K-STAMINA
  • RS7-PRO
  • RS7-PRO-STAMINA
  • RS7C LTWT (HANS) SA2020
  • RS7SC LTWT (HANS) SA2020

SHIELD INSTALLATION
AND CLEANING


It is important to properly remove and install shields onto your helmet to guarantee the highest level of vision clarity and overall protection. By following these simple steps, you will be able to assure your shield is in the best possible condition to succeed in any application.

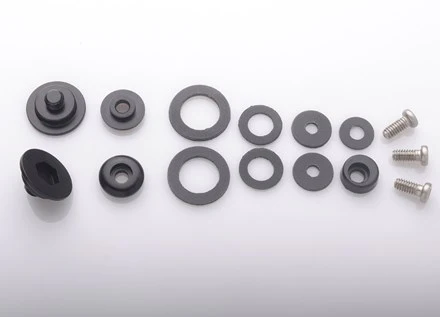
  • Remove both the left and right-side shield pivot screws using the hex wrench provided with your helmet.
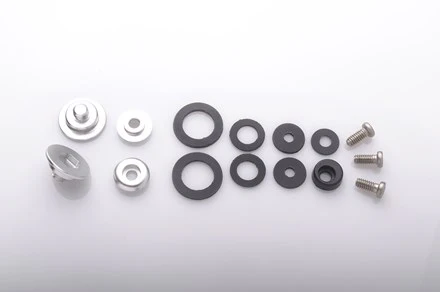
  • Remove the left and right-side friction sliders and screws using the hex wrench provided.
  • Remove the shield from the helmet and inspect for scratches or imperfections that may cause a decrease level of vision clarity.
  • Using only the highest quality of automotive, water-based glass cleaner, gently clean the visor using a microfiber cloth to assure a scratch-free cleaning.
  • To re-install the shield, place the shield back on the helmet and place the pivot screws back into the helmet. Be sure to not overtighten the screws, as this may damage the screw threads or pivot inserts.
  • Replace the friction sliders and screws and adjust to the desired level and close the shield. Adjustment of the eccentric button may be required.
  • Check the action and function of the newly replaced shield prior to use to assure the installation was correct.
Bell SE07 3MM DSAF Shield - Image 2

Details & Craftsmanship

Every detail has been carefully considered to bring you the perfect product.

Bell SE07 3MM DSAF Shield - Image 3

Details & Craftsmanship

Every detail has been carefully considered to bring you the perfect product.

Bell SE07 3MM DSAF Shield - Image 4

Details & Craftsmanship

Every detail has been carefully considered to bring you the perfect product.

Bell SE07 3MM DSAF Shield - Image 5

Details & Craftsmanship

Every detail has been carefully considered to bring you the perfect product.
Bell SE07 3MM DSAF Shield - Image 6

Details & Craftsmanship

Every detail has been carefully considered to bring you the perfect product.

Bell SE07 3MM DSAF Shield - Image 7

Details & Craftsmanship

Every detail has been carefully considered to bring you the perfect product.

Bell SE07 3MM DSAF Shield - Image 8

Details & Craftsmanship

Every detail has been carefully considered to bring you the perfect product.

Bell SE07 3MM DSAF Shield - Image 9

Details & Craftsmanship

Every detail has been carefully considered to bring you the perfect product.
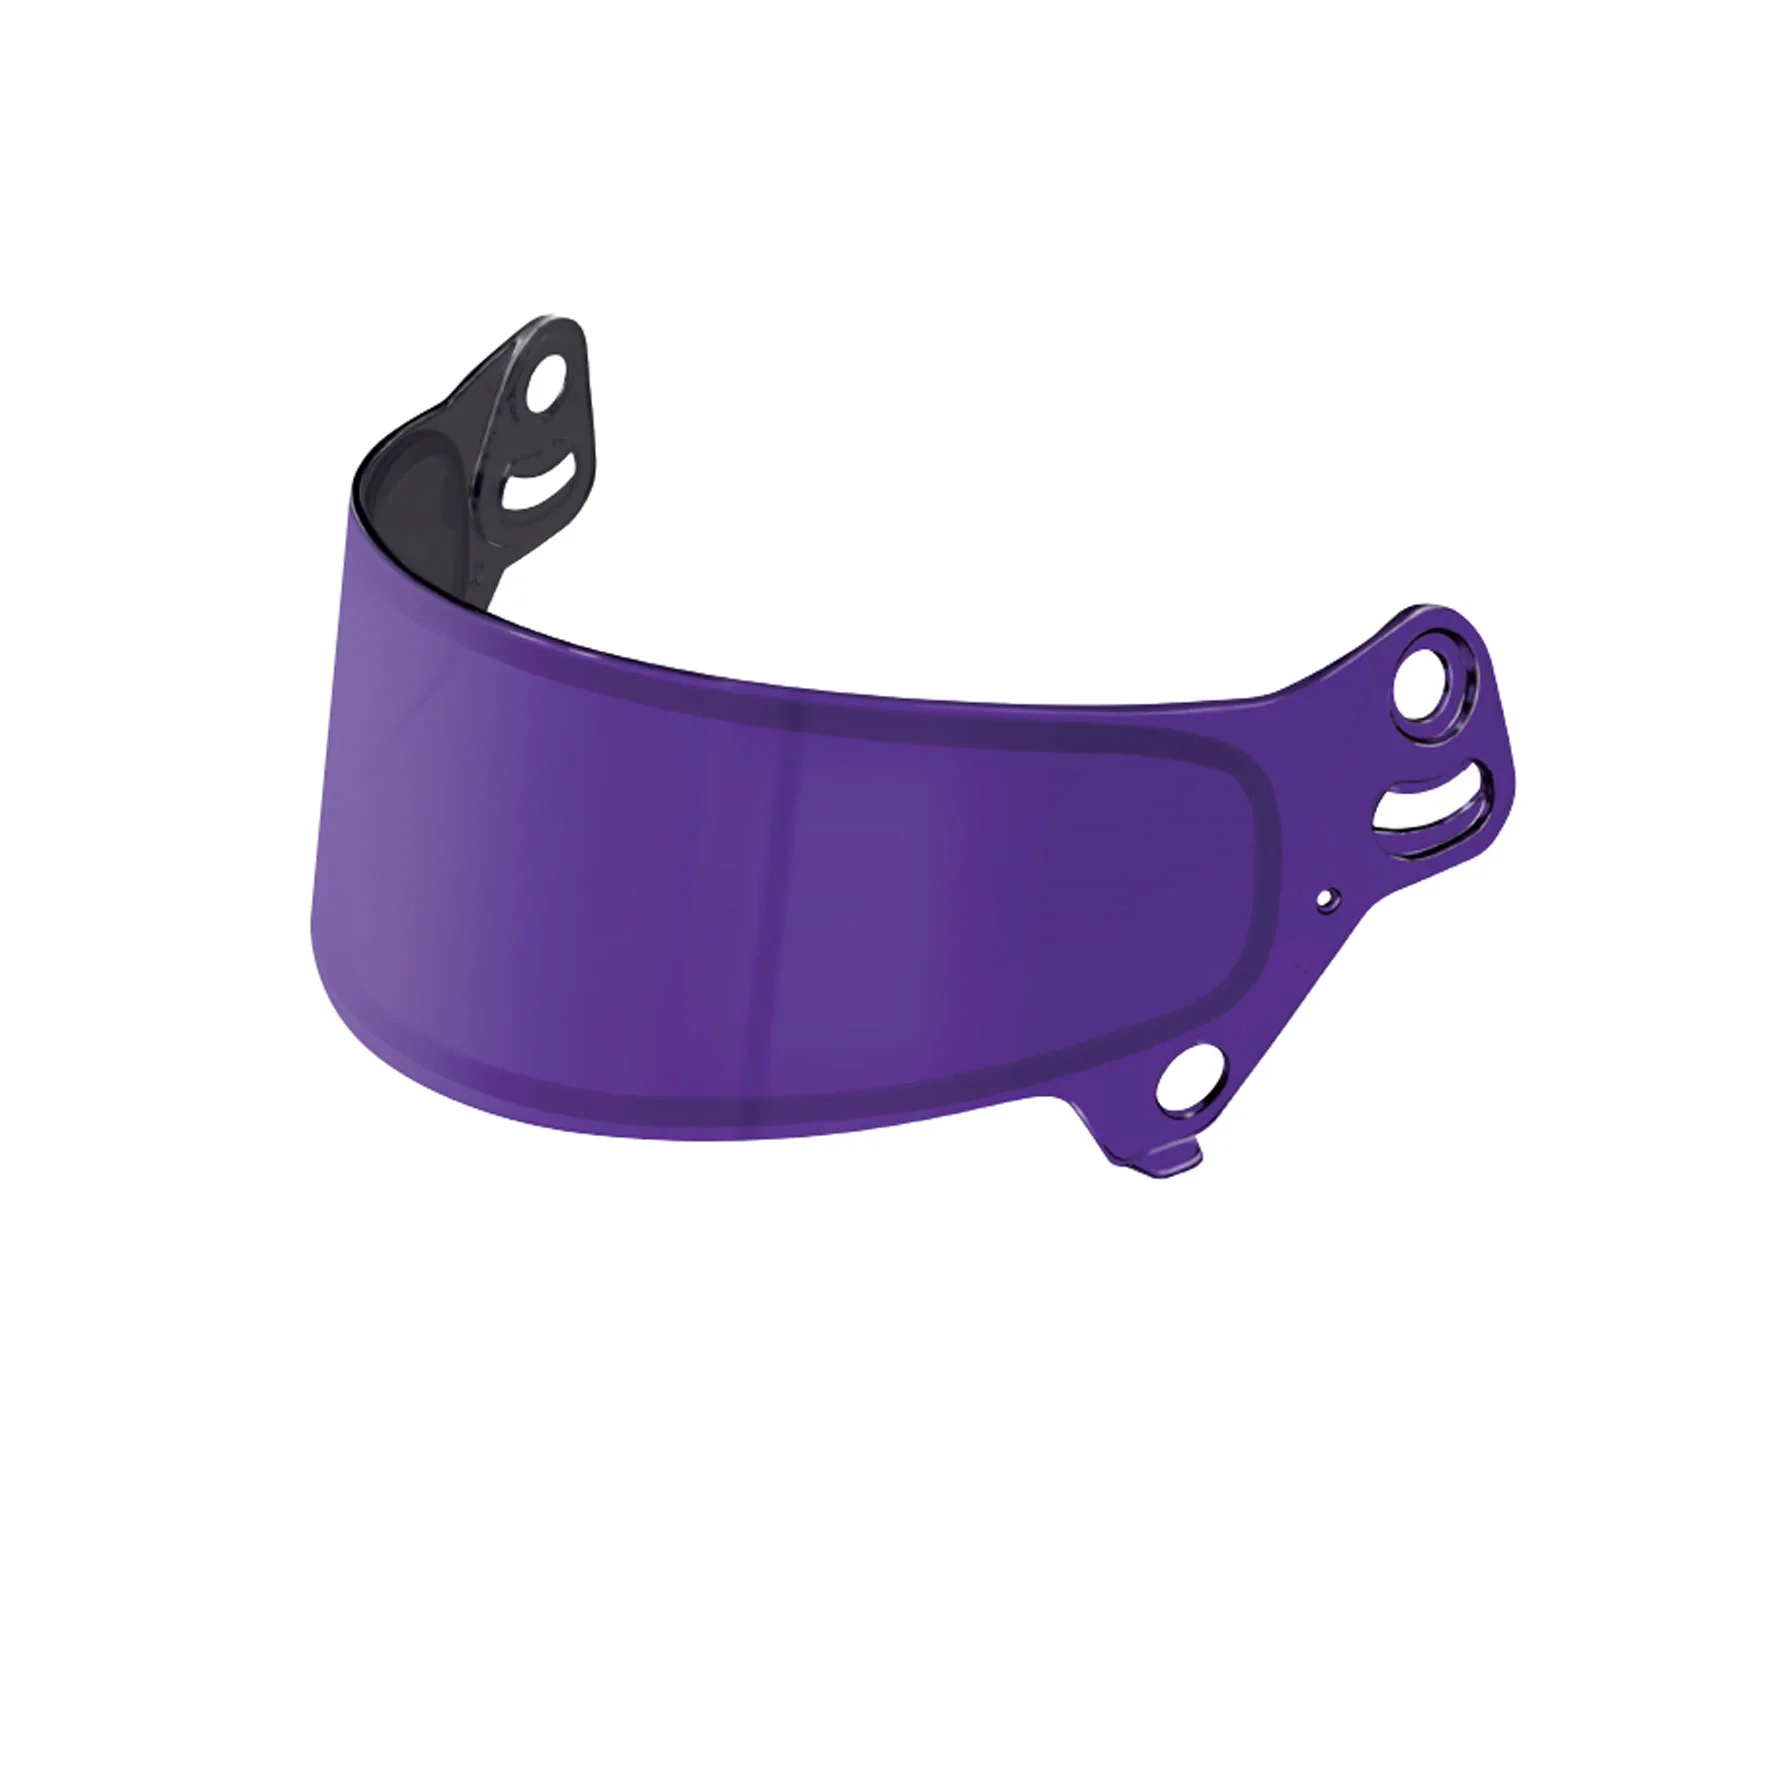
Bell SE07 3MM DSAF Shield - Image 10

Details & Craftsmanship

Every detail has been carefully considered to bring you the perfect product.
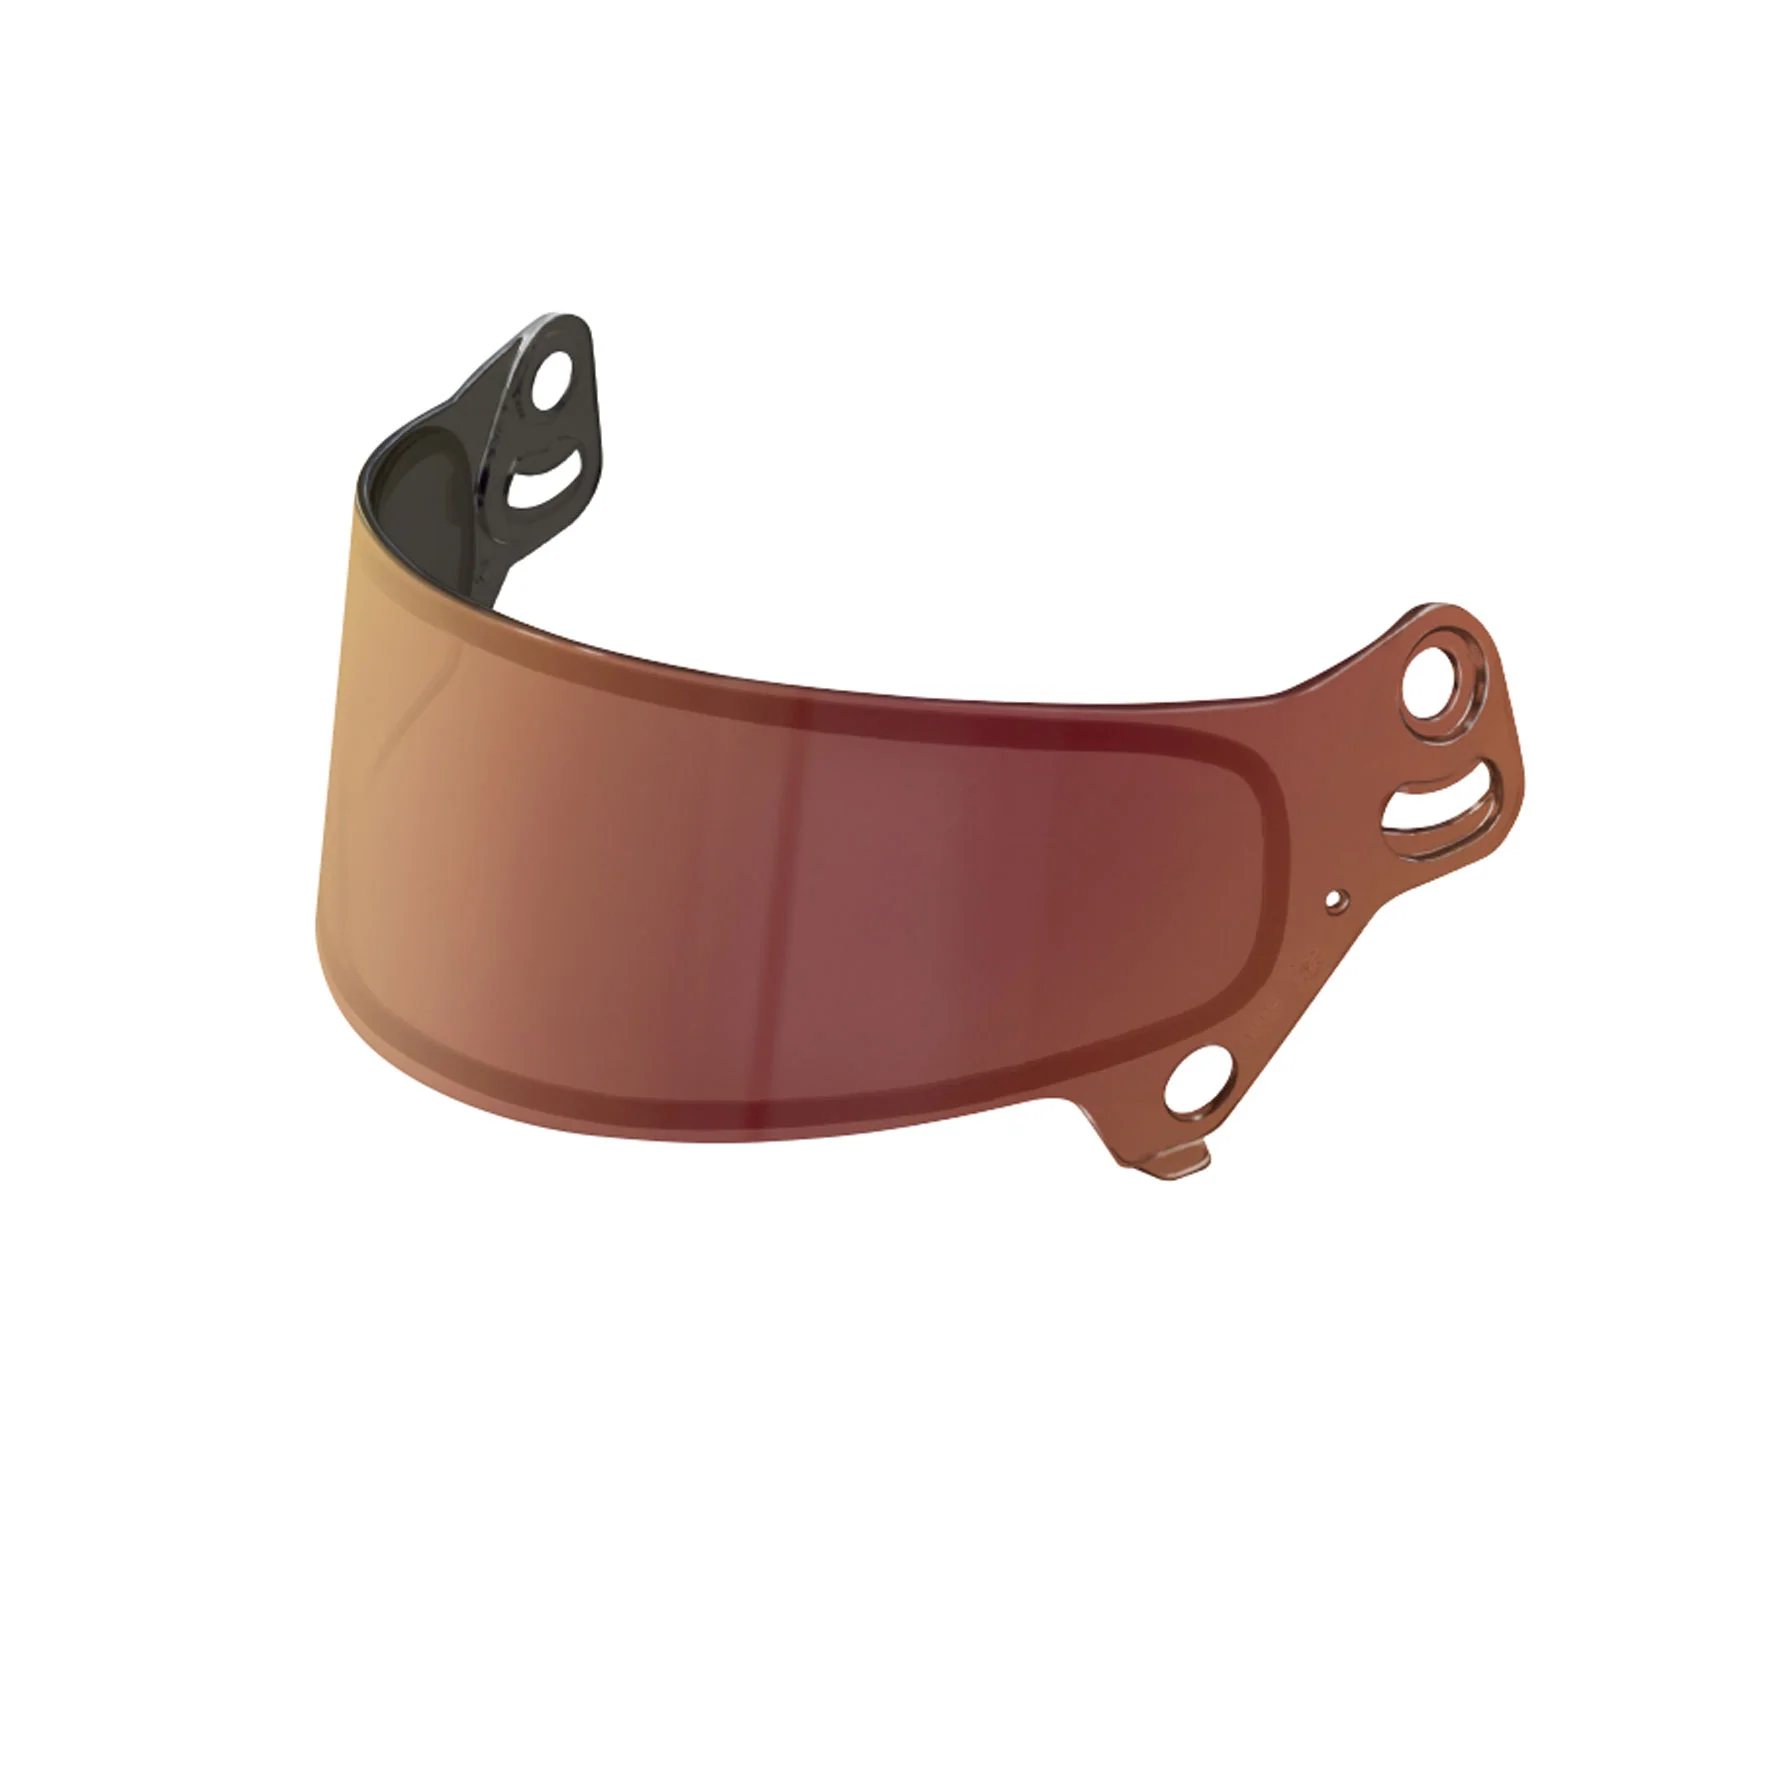
Bell SE07 3MM DSAF Shield - Image 11

Details & Craftsmanship

Every detail has been carefully considered to bring you the perfect product.
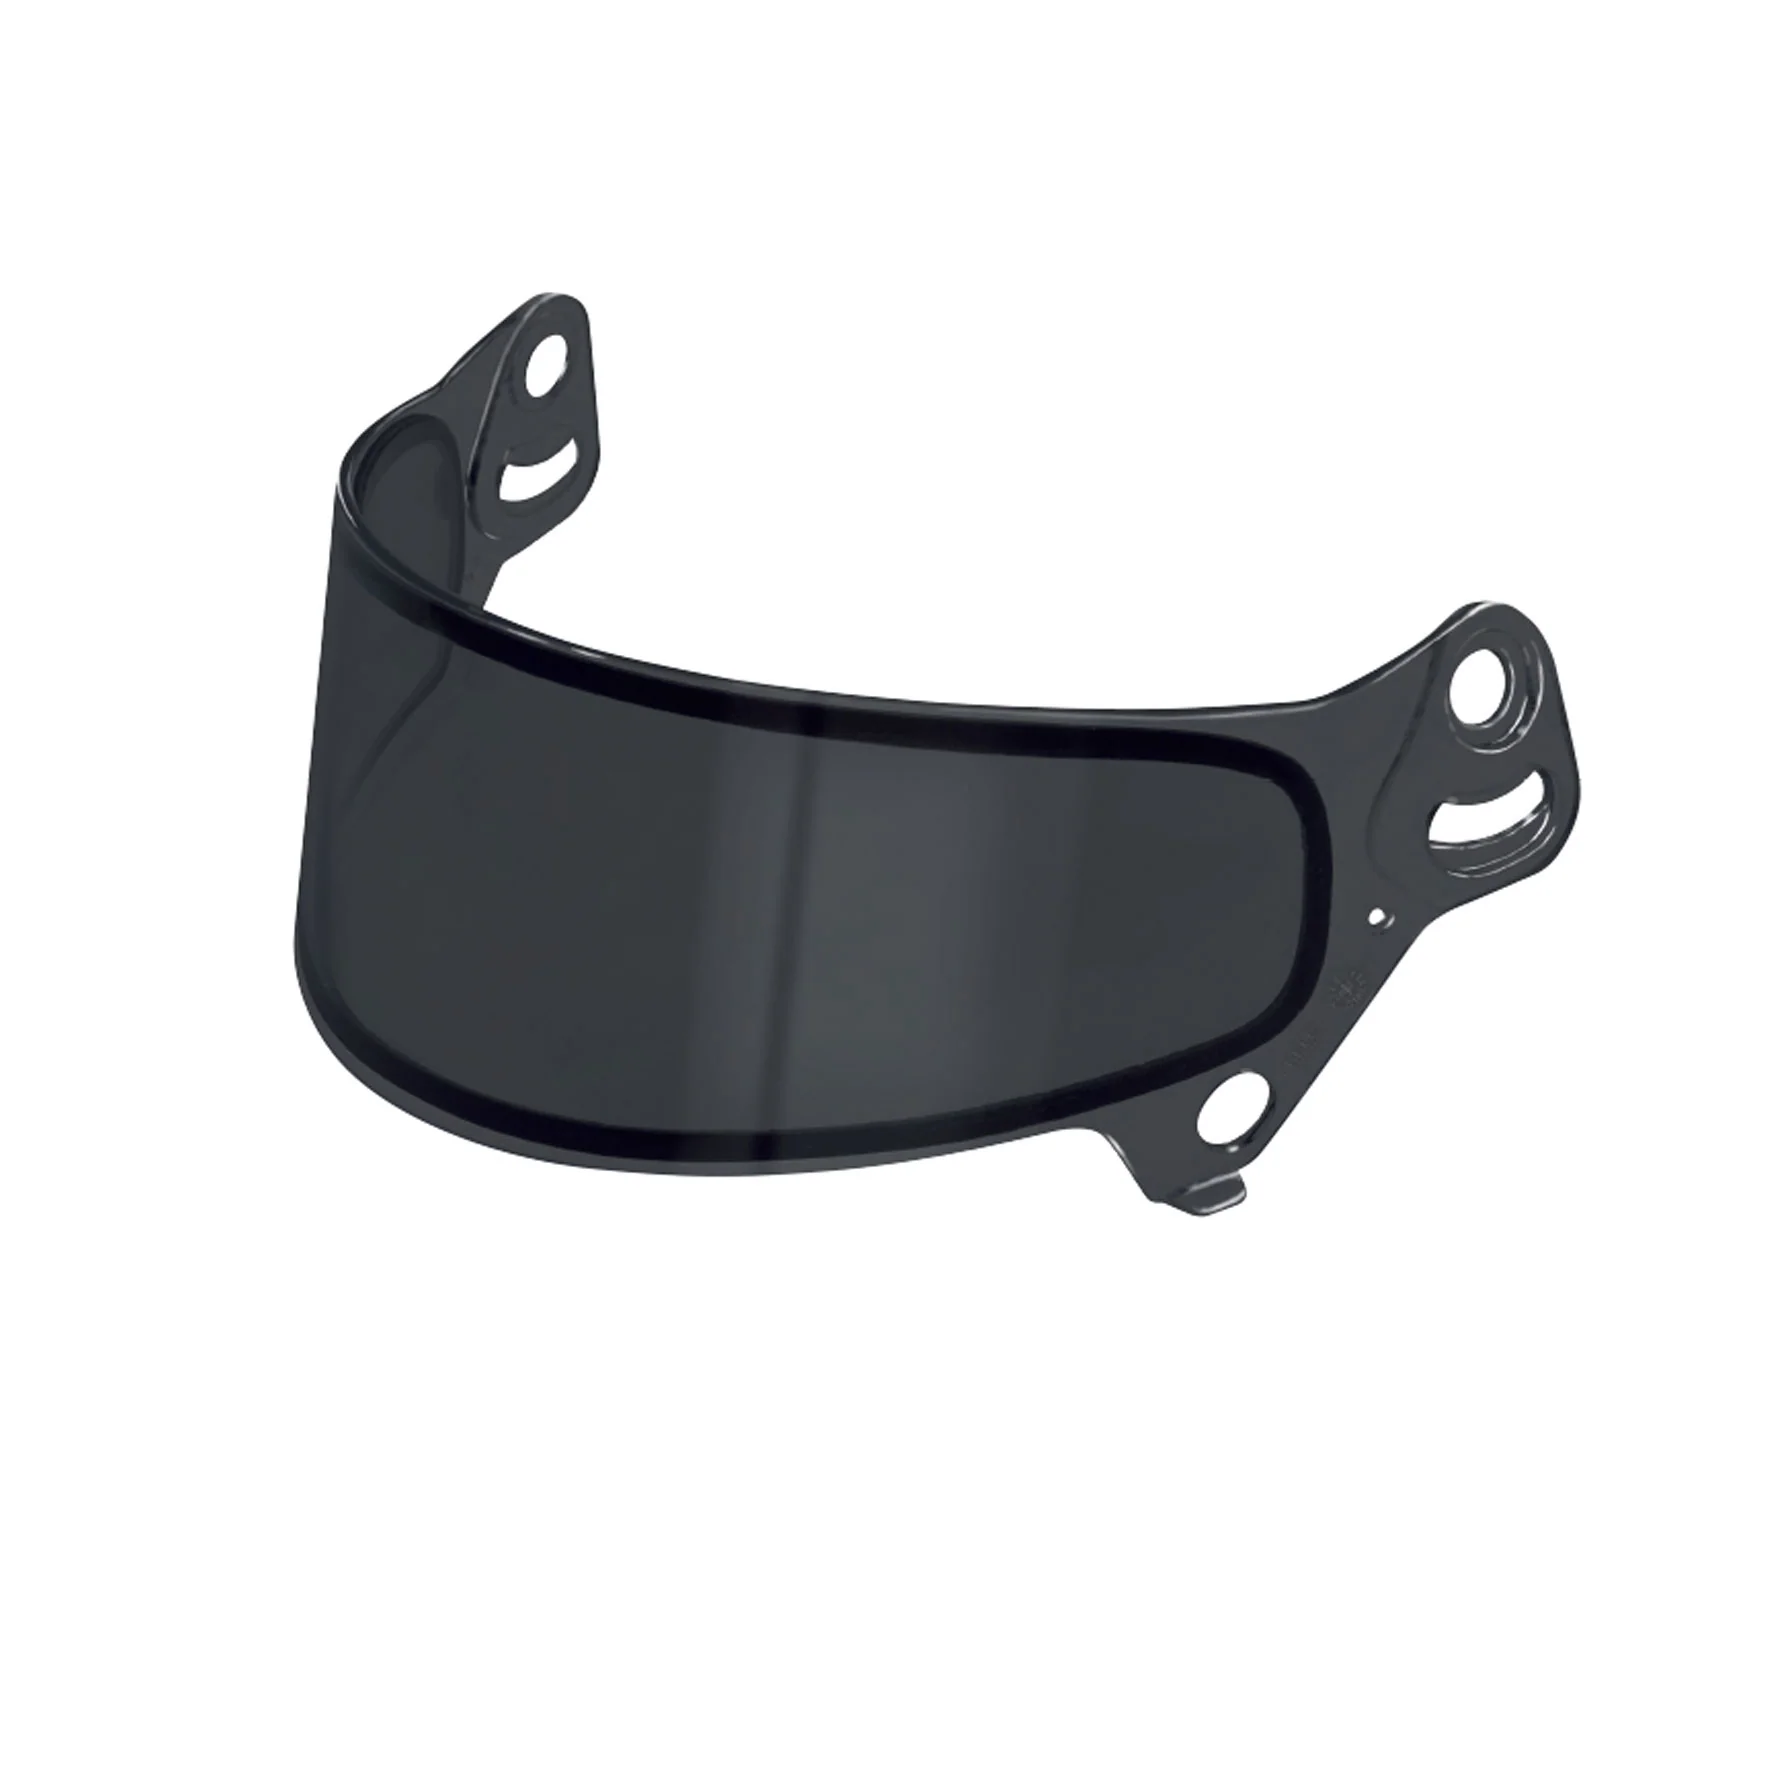
Bell SE07 3MM DSAF Shield - Image 12

Details & Craftsmanship

Every detail has been carefully considered to bring you the perfect product.
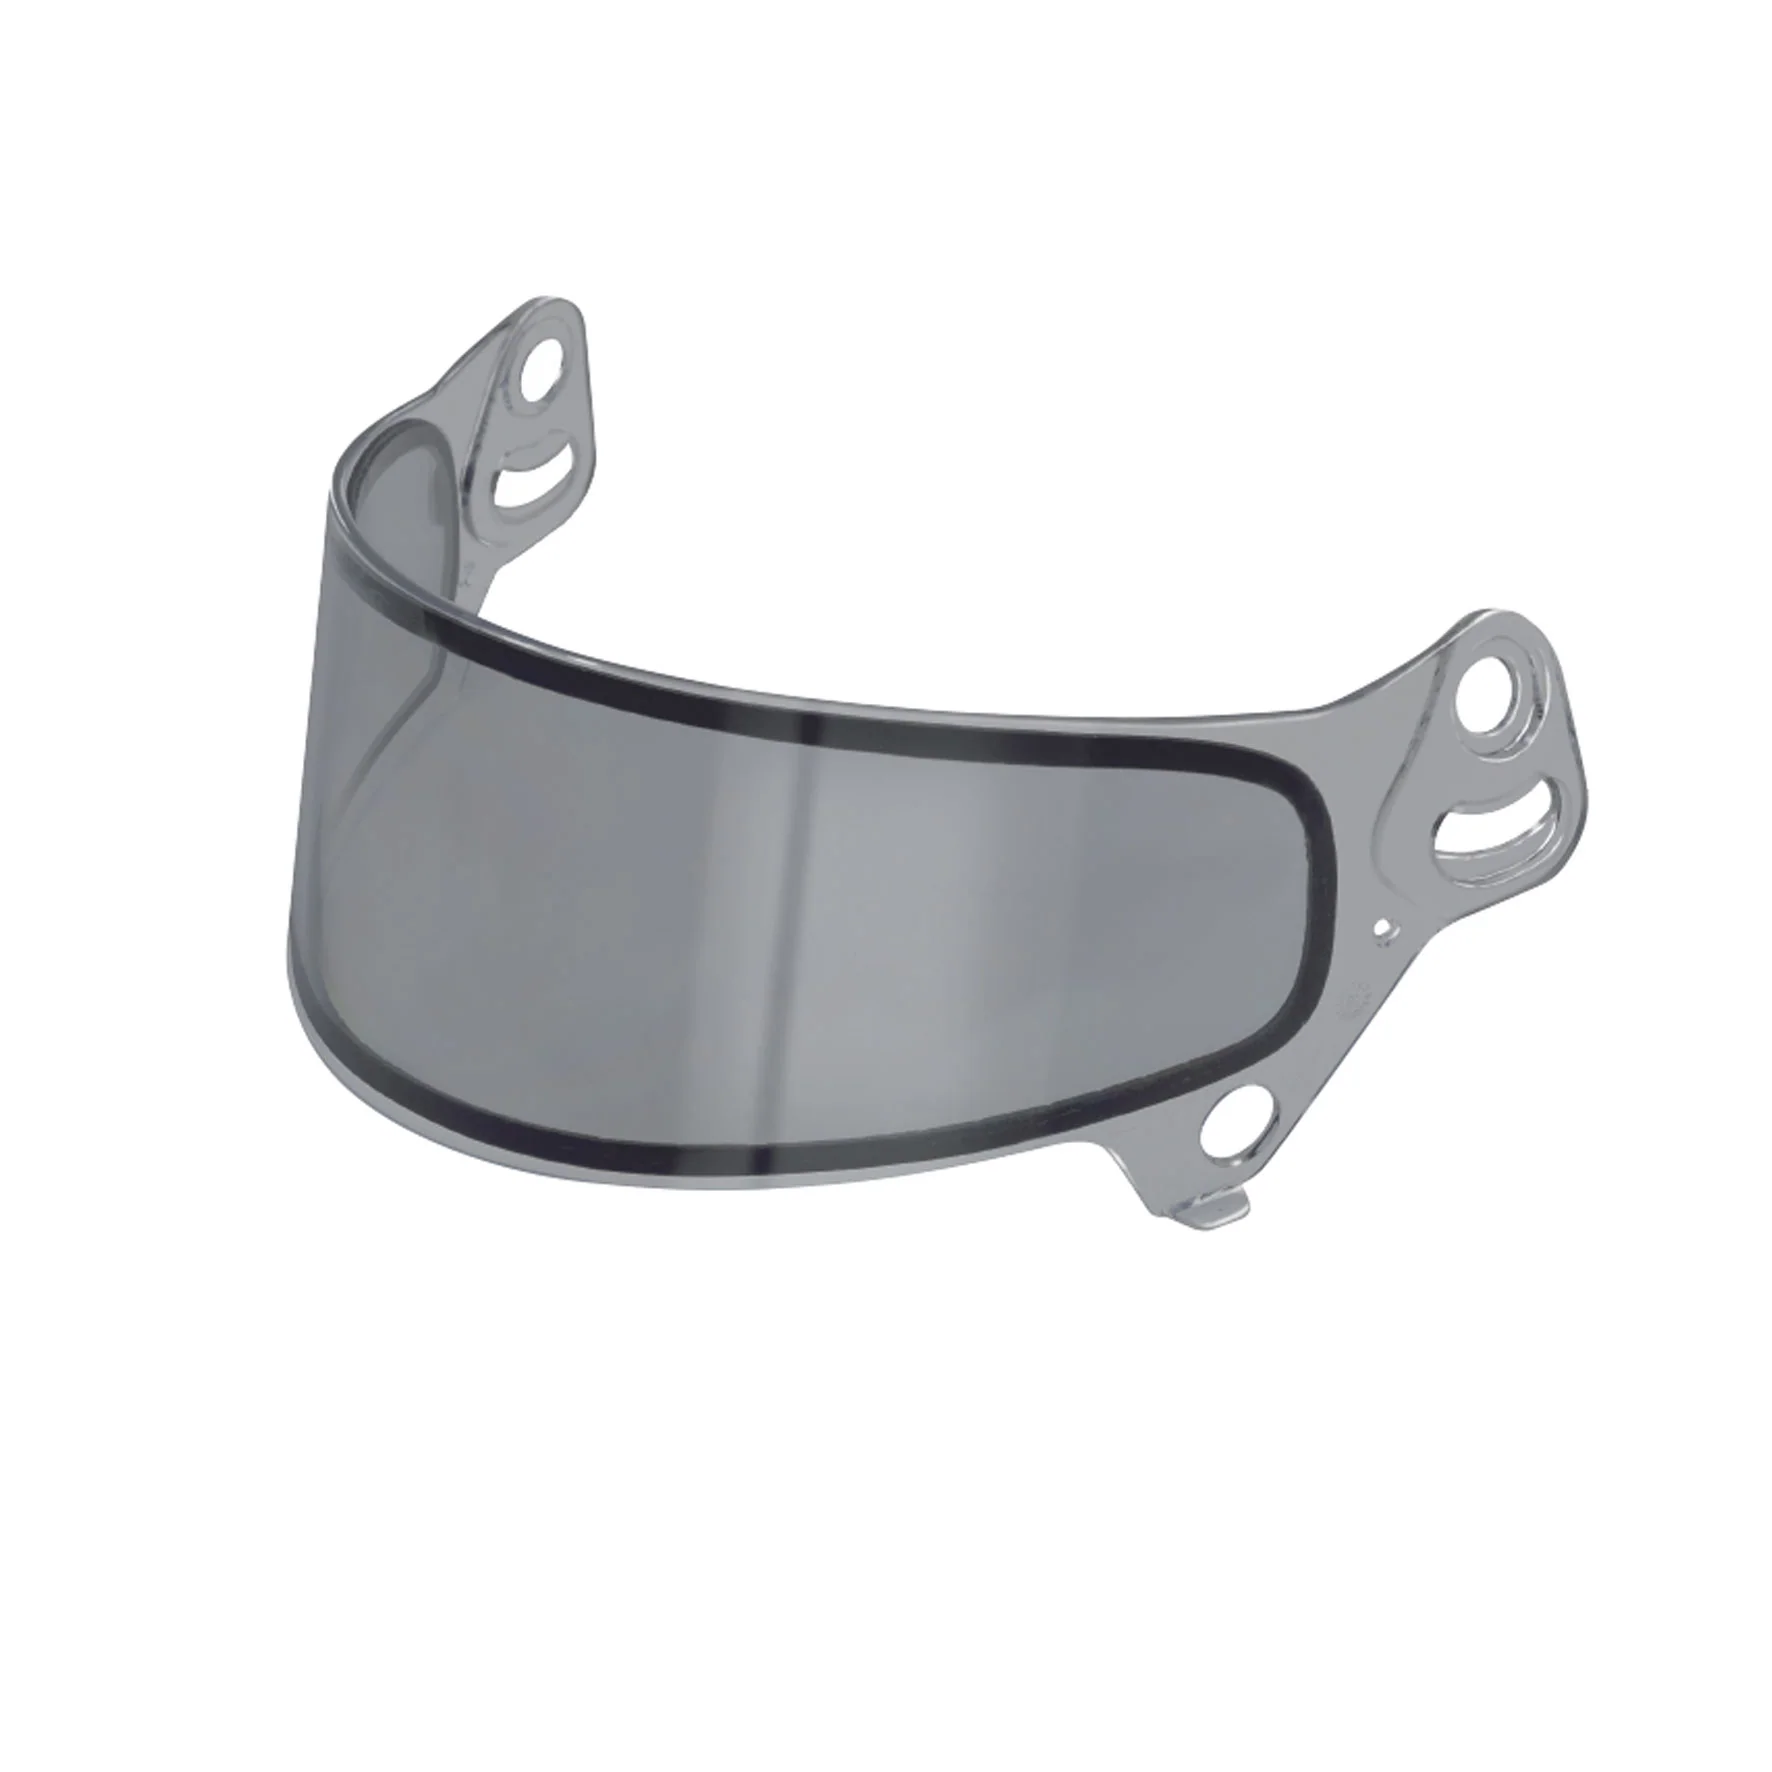
Bell SE07 3MM DSAF Shield - Image 13

Details & Craftsmanship

Every detail has been carefully considered to bring you the perfect product.
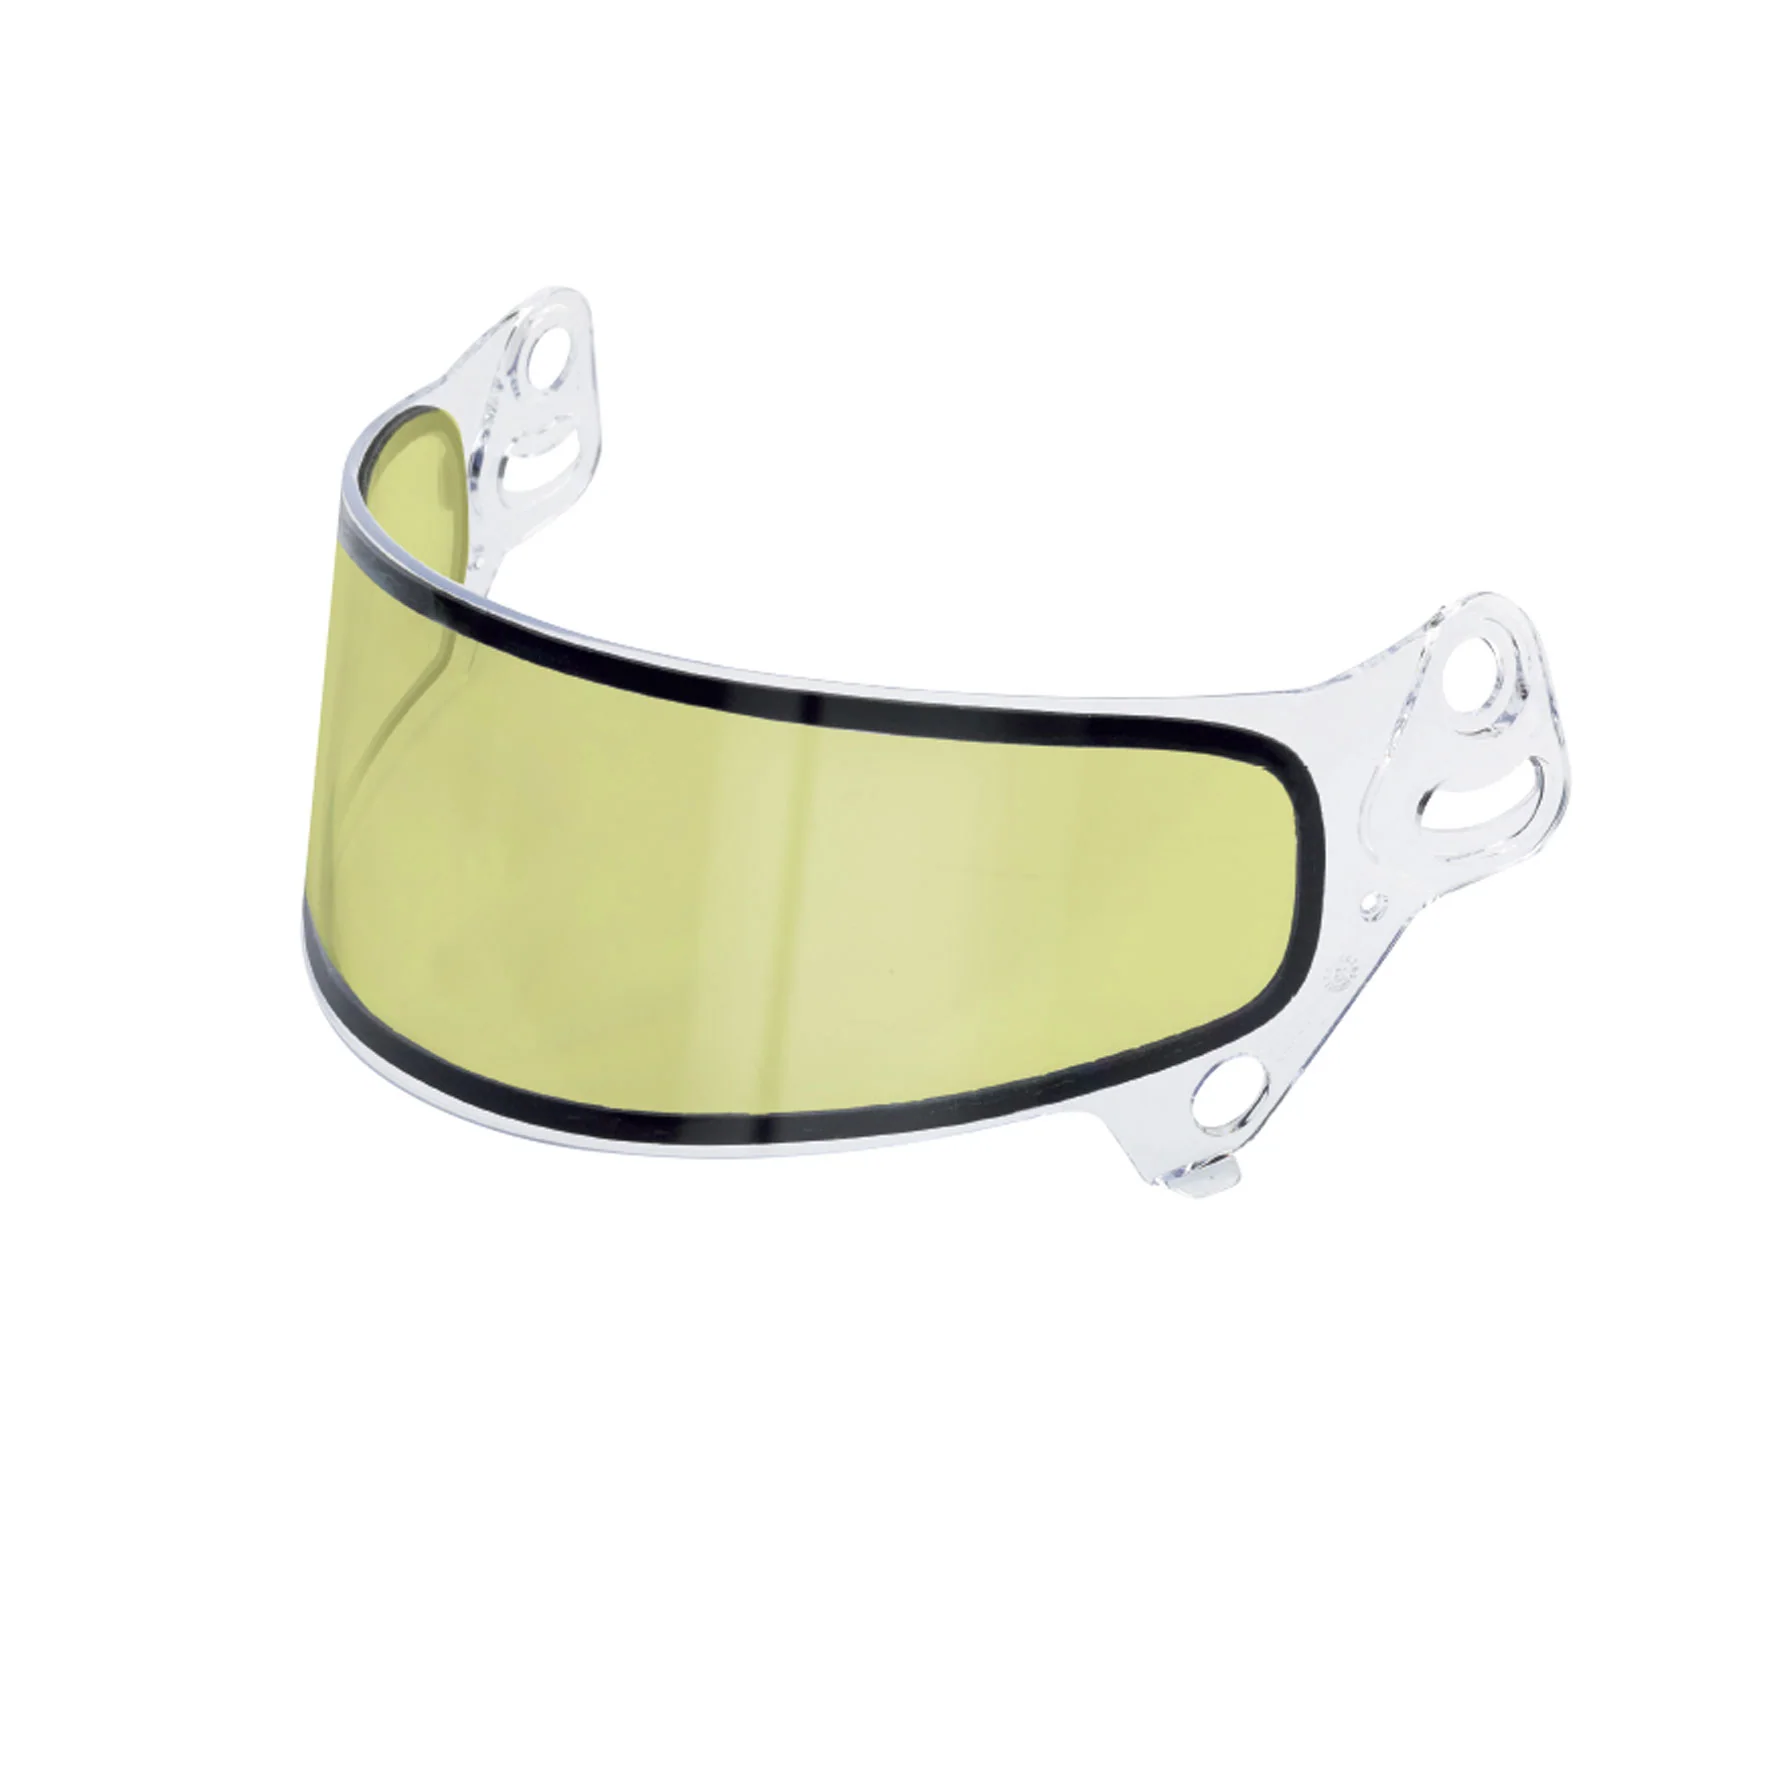
Bell SE07 3MM DSAF Shield - Image 14

Details & Craftsmanship

Every detail has been carefully considered to bring you the perfect product.
Description

Compatible
Helmets

  • HP7-EVO-III
  • RS7-CARBON
  • RS7-K
  • RS7-K-CARBON
  • RS7-K-STAMINA
  • RS7-PRO
  • RS7-PRO-STAMINA
  • RS7C LTWT (HANS) SA2020
  • RS7SC LTWT (HANS) SA2020

SHIELD INSTALLATION
AND CLEANING


It is important to properly remove and install shields onto your helmet to guarantee the highest level of vision clarity and overall protection. By following these simple steps, you will be able to assure your shield is in the best possible condition to succeed in any application.

  • Remove both the left and right-side shield pivot screws using the hex wrench provided with your helmet.
  • Remove the left and right-side friction sliders and screws using the hex wrench provided.
  • Remove the shield from the helmet and inspect for scratches or imperfections that may cause a decrease level of vision clarity.
  • Using only the highest quality of automotive, water-based glass cleaner, gently clean the visor using a microfiber cloth to assure a scratch-free cleaning.
  • To re-install the shield, place the shield back on the helmet and place the pivot screws back into the helmet. Be sure to not overtighten the screws, as this may damage the screw threads or pivot inserts.
  • Replace the friction sliders and screws and adjust to the desired level and close the shield. Adjustment of the eccentric button may be required.
  • Check the action and function of the newly replaced shield prior to use to assure the installation was correct.